Introduction
AVR systems can be programmed using available, free tools. Below you will find a full description of preparing the environment and tools that will help you send your first program to the AVR system.
The description was prepared on the example of a system from the GNU/Linux family - Ubuntu, but you can similarly configure your environment on other platforms (including Windows OS) using these tools.
Let's install:
- Eclipse - integrated development environment (IDE), i.e. a program for editing source code that integrates auxiliary tools to support the programmer's work
- make - is a tool for automating the compilation and building of programming projects
- gcc-avr - C compiler turns your code into binary (.hex) code
- avr-libc - is a set of C libraries specific to AVR microcontrollers. It contains functions and definitions needed to write software, such as register handling, interrupts and mathematical operations.
- avrdude - is a tool for communication with the AVR microcontroller. It allows you to send a compiled program (e.g. a .hex file) to the microcontroller's memory via a programmer (e.g. USBasp, STK500).
Installation
First, let's install a set of tools for compiling and sending code to AVR systems via the command:
$ sudo apt install make gcc-avr avr-libc avrdude
Basically, these tools are enough to prepare the code and send the program to the chip.
However, let's additionally install a source code editor, in this case a powerful tool called Eclipse. From version 2020-09 it is available as a "self-contained bundle". This means that Eclipse no longer requires an additional Java installation as was the case for previous versions.
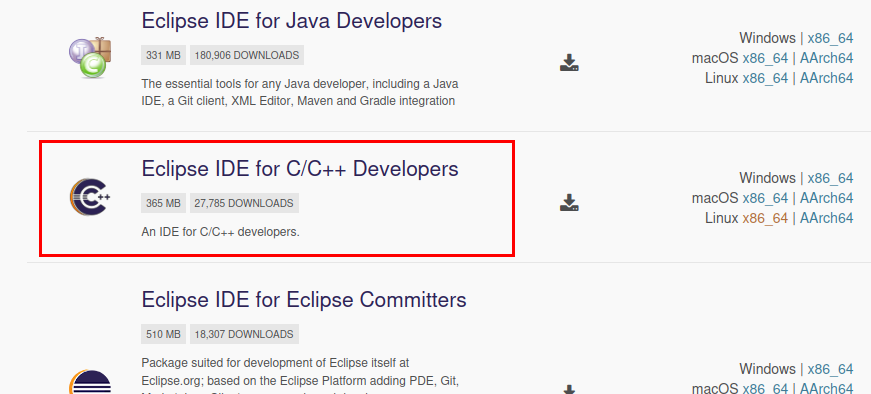
Download and unpack Eclipse by selecting the IDE version of Eclipse for C/C++ Developers
Now install the plugin to support AVR systems by selecting Help > Eclipse Marketplace from the top bar:

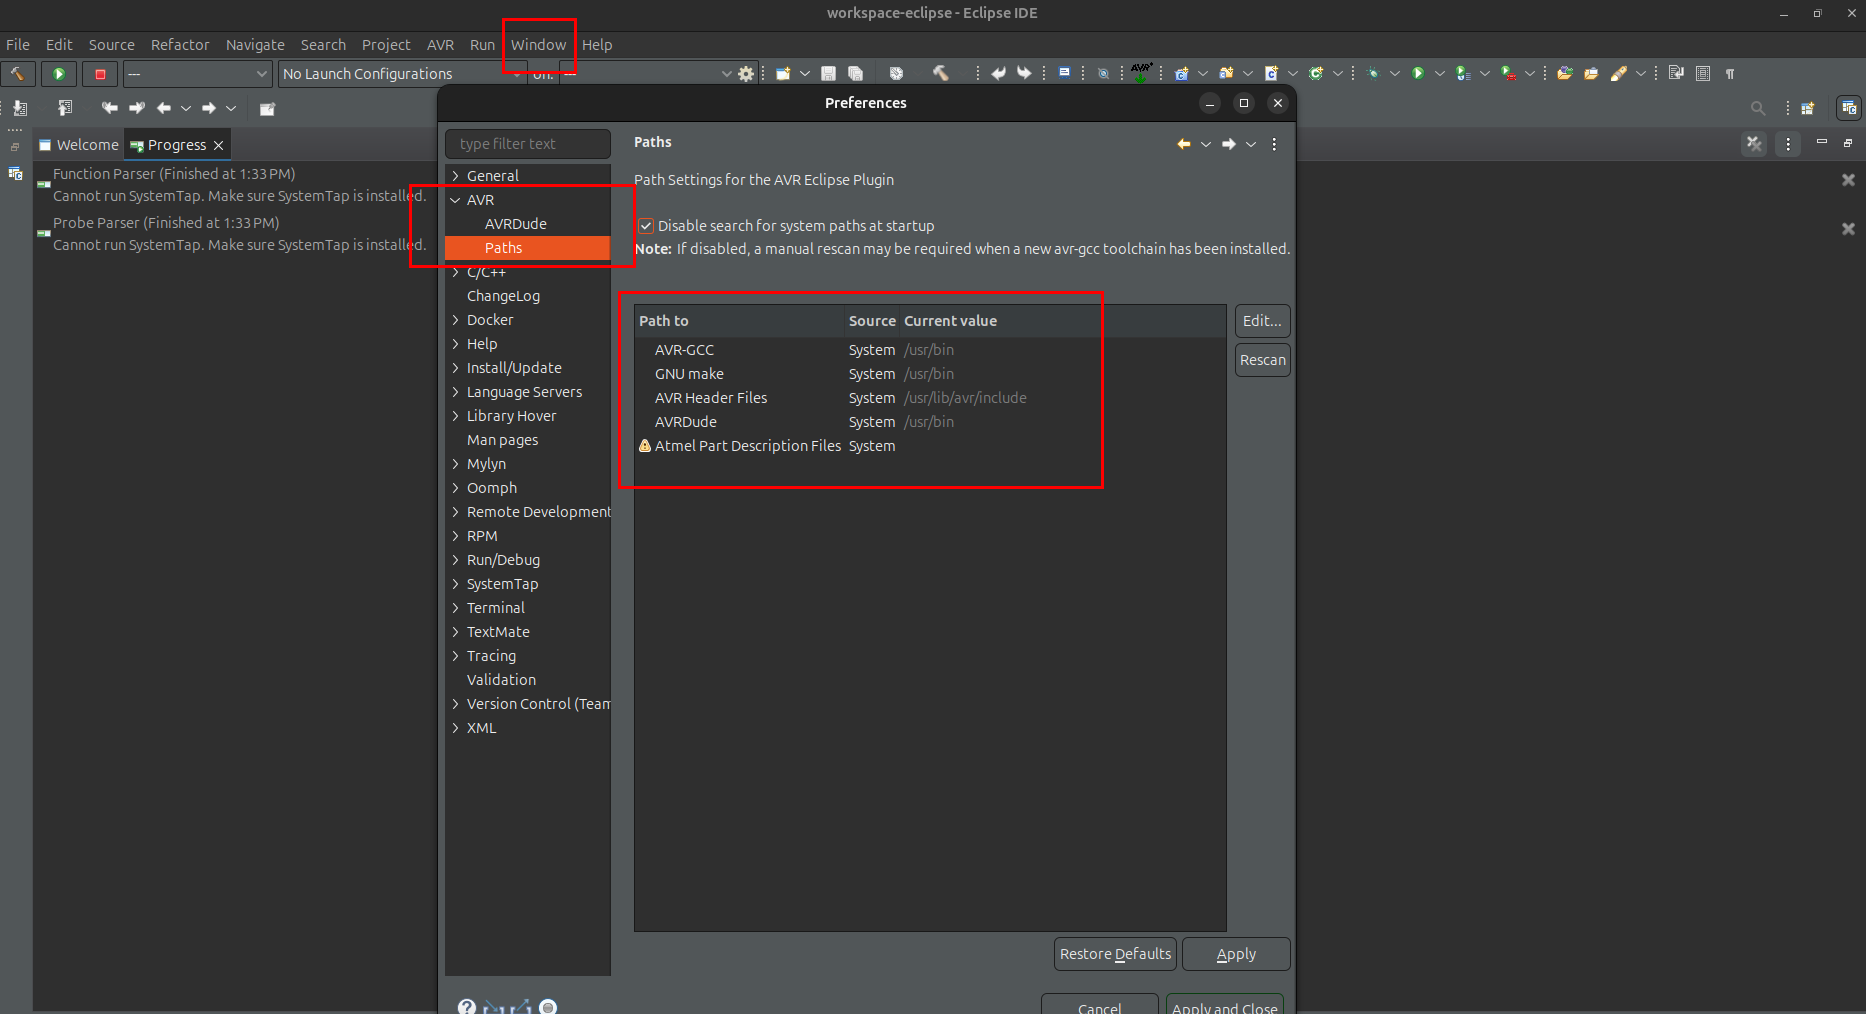
After installing the plugin and restarting Eclipse, all programs should be available in the IDE. You can check this by selecting: Windows > Preferences
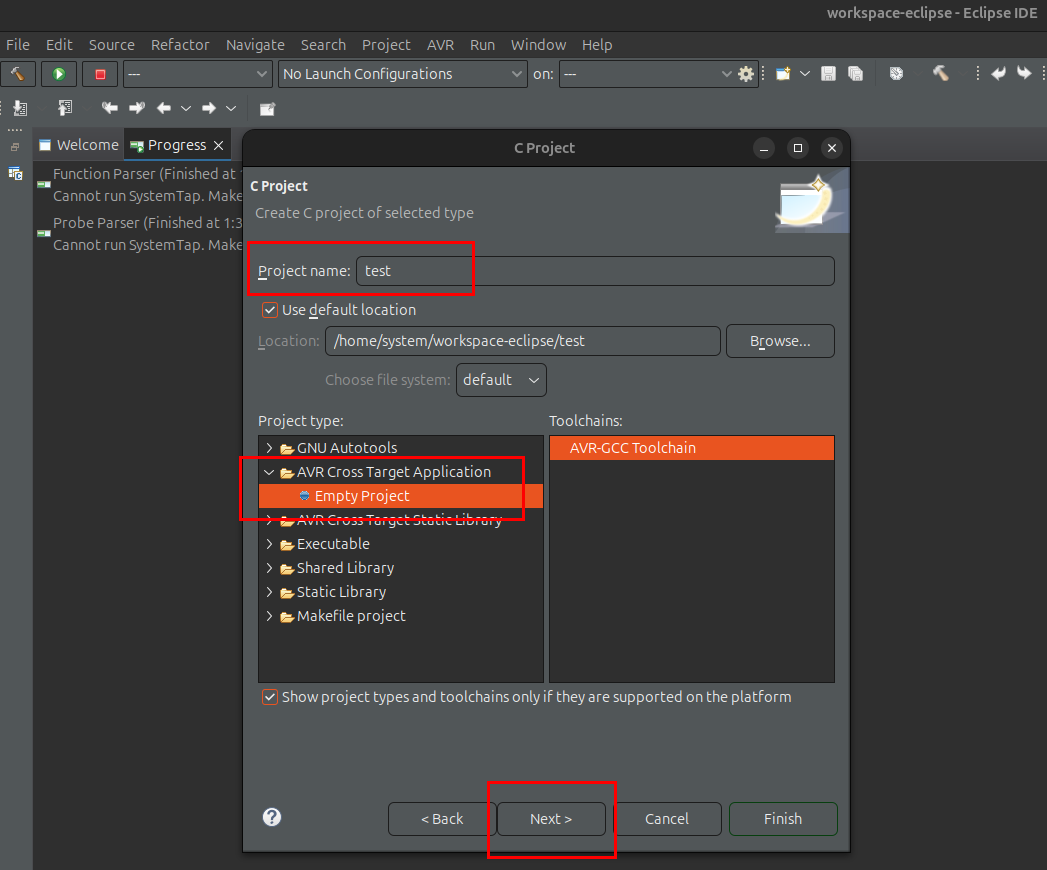
Let's now create a new project by selecting New > Project... and C Project from the top bar:

Moving to the next step using the Next button, we can enter the name and select the project type. Let's choose AVR Cross Target Application
In the next steps you can select the system type (MCU Type) and specify the clock frequency. This is especially important if an external resonator is used in the system.
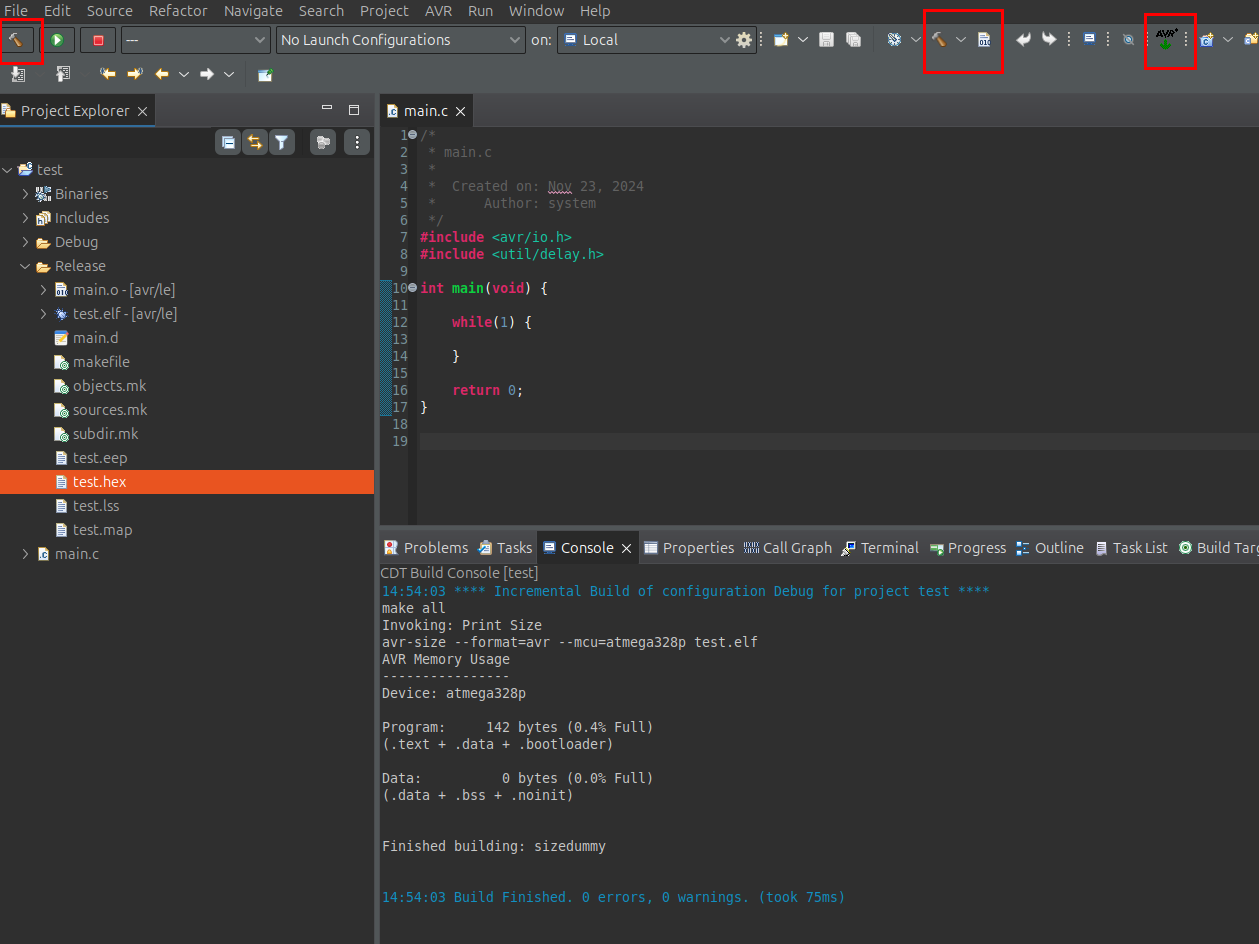
After selecting "Finish", we can proceed to create a simple program. Create a new main.c file and copy the code below:
#include <avr/io.h>#include <util/delay.h>int main(void) {while(1) {}return 0;}
Now you can build and send the program to the system.
In the "Release" directory created automatically after changing the Debug > Release option, you will find a HEX file that is the binary version of the program used to program your favorite microcontroller.
Summary
A big advantage of using the set of the above tools is the possibility of using them free of charge in commercial projects. At the time of preparation of the entry, the tools were covered by the GPL and EPL licenses.
Additionally, these tools can be downloaded independently from the Microchip website. This kit is widely used by many programmers, so you can find an extensive database of examples and solved problem.
Good luck!